
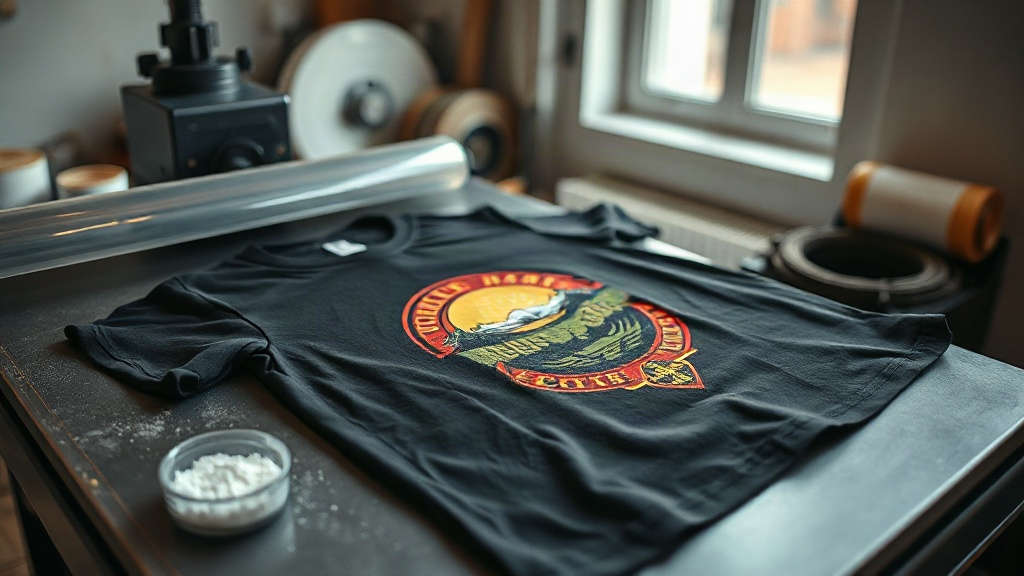
Most people who get into custom apparel start with vinyl, hit a wall the moment a design has gradients or fine detail, and then hear about DTF. The appeal is easy to understand: full-color artwork, no weeding, and a finished transfer that stretches with the shirt instead of cracking off it. But the gap between watching a satisfying print-peel video and running a production setup that works every single day is wider than most tutorials admit.
This guide covers what DTF actually is, how the layers bond to fabric, what equipment you genuinely need, and the specific settings and habits that separate clean, wash-resistant prints from the ones that come back as complaints.
What DTF Printing Actually Does
DTF stands for direct to film. Instead of printing directly onto a garment the way DTG does, or cutting shapes out of colored vinyl, you print your artwork in reverse onto a coated PET film. While the ink is still wet, a thermoplastic adhesive powder is applied across the printed area. The film goes through a curing step, the powder melts into a flexible glue layer, and what you are left with is a dry, stackable transfer.
When you press that transfer onto fabric, the adhesive layer reactivates and bonds to the material. The film is peeled away while hot or cold depending on the film type, and the ink stays behind, sitting on top of the fabric rather than soaking into it.
That last detail matters more than it sounds. Because the ink sits on the surface, colors stay vivid on dark garments without a white underbase printed separately. A single pass can carry white, CMYK, and spot colors together, which is why DTF handles photographic images, gradients, and thin outlines that would be painful to cut by hand.
Where It Fits Compared to Other Methods
- Vinyl: cheaper for one-color text and simple shapes, but impractical for detailed or multi-color art.
- DTG: excellent on 100% cotton, limited on polyester and dark blends, and requires pretreating.
- Screen printing: unbeatable cost per unit at high volume, but setup costs make small runs expensive.
- DTF: strong on small and medium runs, works across cotton, polyester, blends, and even some non-fabric items, with no setup per design.
If your work is short runs, varied designs, or garments in mixed materials, DTF removes a lot of the friction the other methods carry.
The Equipment You Actually Need
You can buy a converted printer or a purpose-built DTF printer. Converted machines are cheaper, but they tend to need more attention to keep the ink flowing and the print head clean. Purpose-built units cost more upfront and usually behave better over long shifts.
Core Setup
- A printer loaded with DTF inks, including white, plus DTF film.
- A powder shaker or a manual powder application setup.
- A curing oven or a heat press used for curing, depending on your volume.
- A heat press for the final transfer, with accurate temperature and pressure.
- A dedicated space with ventilation and stable humidity.
Humidity is the quiet saboteur here. In a dry room, film curls, powder clumps, and prints crack. Many people chase printer settings for weeks before realizing their shop is sitting at 25% relative humidity in winter.
Film and Powder Choices
Film comes in hot peel and cold peel variants, and in different thicknesses. Thin film releases cleaner detail; thicker film is more forgiving for bold, heavy-ink designs. Hot peel is faster for production. Cold peel gives you a moment to reposition and often produces a slightly softer hand feel.
Powder is typically measured in microns. Finer powder gives smoother, more detailed results on small text. Coarser powder builds a thicker adhesive layer and can help on stretchy fabrics, though it feels heavier.
Getting the Print Settings Right
Every printer and film combination has its own sweet spot, so treat published numbers as starting points, not gospel. That said, the variables that matter are consistent.
Printing
Print the image mirrored. Keep white ink density high enough that colors stay opaque, but not so high that the ink layer becomes brittle. If you notice banding, run a nozzle check before touching any profile settings.
Powdering and Curing
Apply powder evenly and shake off the excess thoroughly. Uneven powder is the most common cause of patchy adhesion and a rough, gritty surface. Cure until the powder turns from white to a glossy, melted sheen. Under-cured transfers wash out; over-cured ones lose flexibility and crack at the edges.
Pressing
A typical starting range is around 300 to 320 degrees Fahrenheit for 10 to 15 seconds at medium pressure for the transfer step, but confirm against your film and powder specs. Pre-press the garment for a few seconds to remove moisture. That single step prevents a surprising number of adhesion failures, especially on cotton that has been sitting in a humid warehouse.
Mistakes That Show Up After Washing
Prints rarely fail at the press. They fail two weeks later, after the customer has washed the shirt five times. Here is what usually causes it.
- Not enough pressure: the adhesive never fully engages with the fibers.
- Cold spots in the press: edges lift while the center holds.
- Powder left uncured: the glue layer never forms properly.
- Pressing over seams or zippers: uneven surfaces mean uneven bond.
- Stretching the garment during peel: distorts the print and stresses the edges.
Care instructions matter too. Washing inside out in cold water and avoiding high dryer heat will noticeably extend the life of a transfer. Telling customers this upfront saves you from replacing shirts you did not damage.
Building a Workflow That Holds Up
The shops that scale DTF successfully do not just have good settings. They have a routine. Print in batches so the printer stays in a steady rhythm. Powder and cure in a separate pass so you are not juggling steps. Store finished transfers flat, away from heat and direct sun, and use them within a reasonable window.
Keep a log of settings for each garment type. When a customer sends a polyester performance shirt that behaves differently from your usual cotton tees, you will already have a reference point instead of guessing from scratch.
Start small. Perfect the process on basic cotton tees before you take on stretchy blends or difficult fabrics. The skills transfer, and the confidence does too.
Frequently Asked Questions
Can DTF transfers be applied to polyester and nylon?
Yes, and this is one of the method's biggest advantages. Because the ink sits on the surface with an adhesive layer rather than soaking into the fibers, DTF works on polyester, cotton, blends, and many synthetics. Very stretchy or coated fabrics still need testing, and lower press temperatures are often safer for heat-sensitive materials.
How long do DTF prints last after washing?
A properly pressed transfer on a compatible fabric typically survives dozens of wash cycles. Longevity depends on cure quality, press pressure, and how the garment is laundered. Cold water, inside-out washing, and low dryer heat push that number up considerably.
Do I need a special printer for DTF, or can I convert a regular one?
You can convert certain inkjet printers with DTF inks, a white ink circulation system, and the right film. Converted setups work, but they demand more maintenance and are more prone to clogging. If you plan to print daily, a purpose-built DTF printer usually pays for itself in reduced downtime.
Why is my DTF transfer cracking at the edges?
Edge cracking almost always traces back to one of three things: insufficient pressure during transfer, over-curing during the powder stage, or stretching the garment while peeling the film. Check your press pressure first, since it is the easiest to fix and the most common culprit.
Is DTF more expensive than vinyl per shirt?
For a single-color name or number, vinyl is cheaper. For anything with gradients, fine detail, or multiple colors, DTF wins on both material cost and labor, because there is no weeding and no layering. The crossover point usually arrives the moment a design needs more than two colors.